From character concept to usable 3D model
Character modeling involves more than making a 3D-looking picture. A usable 3D asset contains real geometry, a surface layout and material information. Here is a practical overview of the pipeline.
Maintained by Character Studio · Updated November 20, 2026
Inspect an existing character example
These are the three character references used in our homepage showcase. Each has a real 3D counterpart supplied for the showcase. Open a sample, rotate it, and compare the silhouette and materials with its reference. The original generation settings were not recorded here, so these examples do not demonstrate a controlled Standard-versus-HD-versus-Ultra comparison.
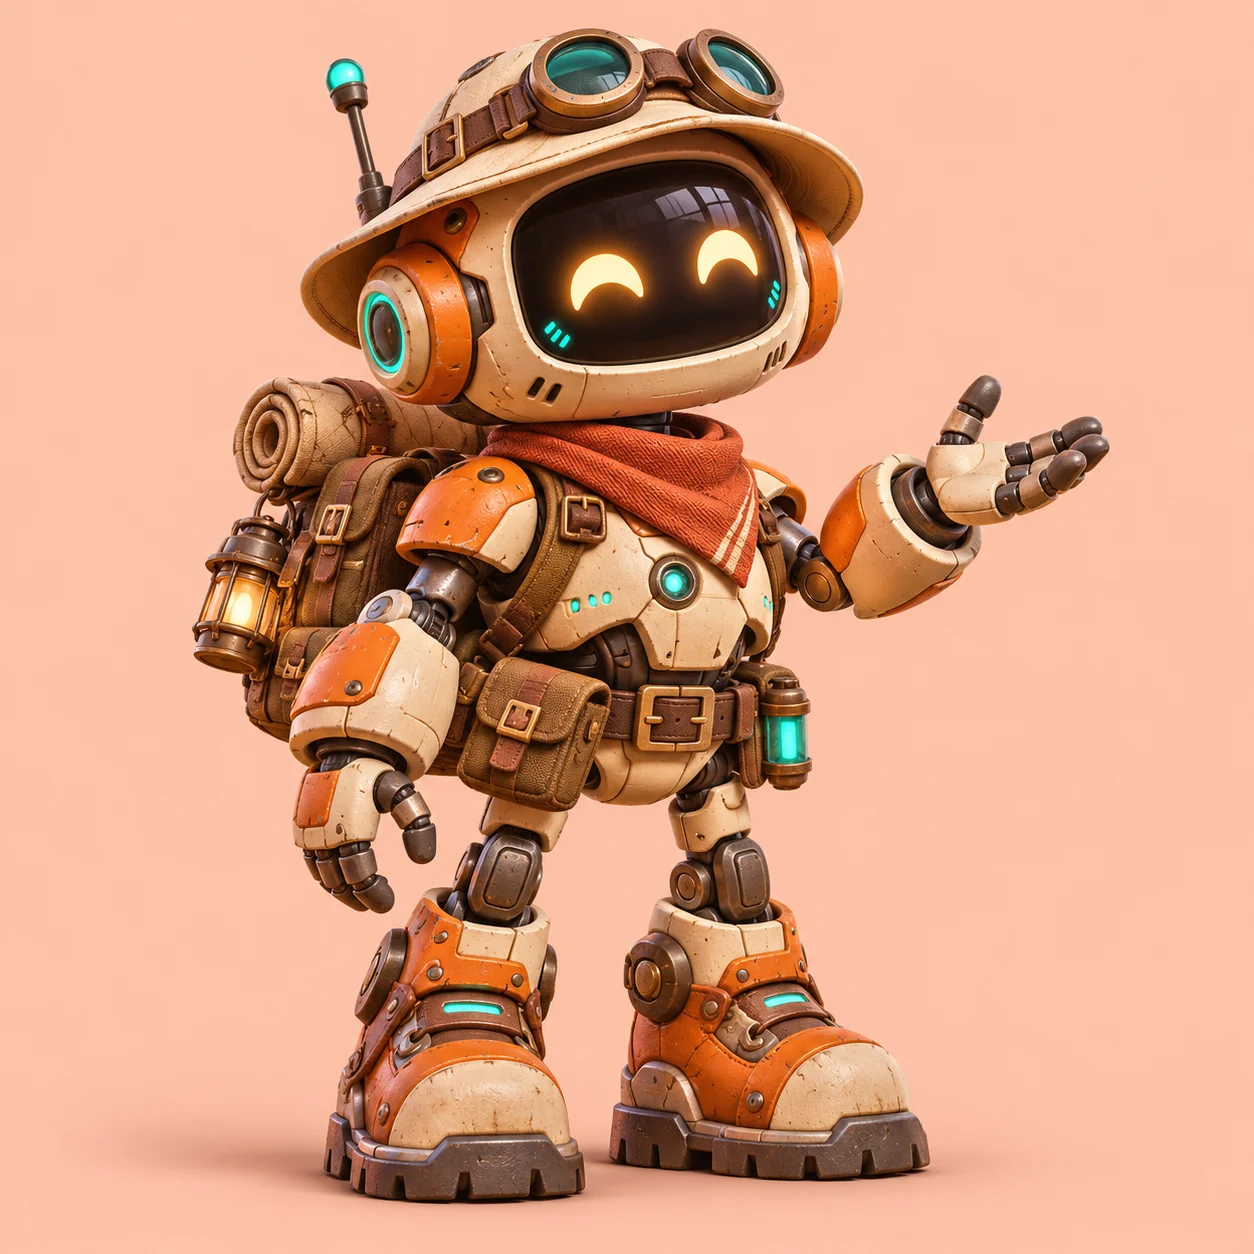
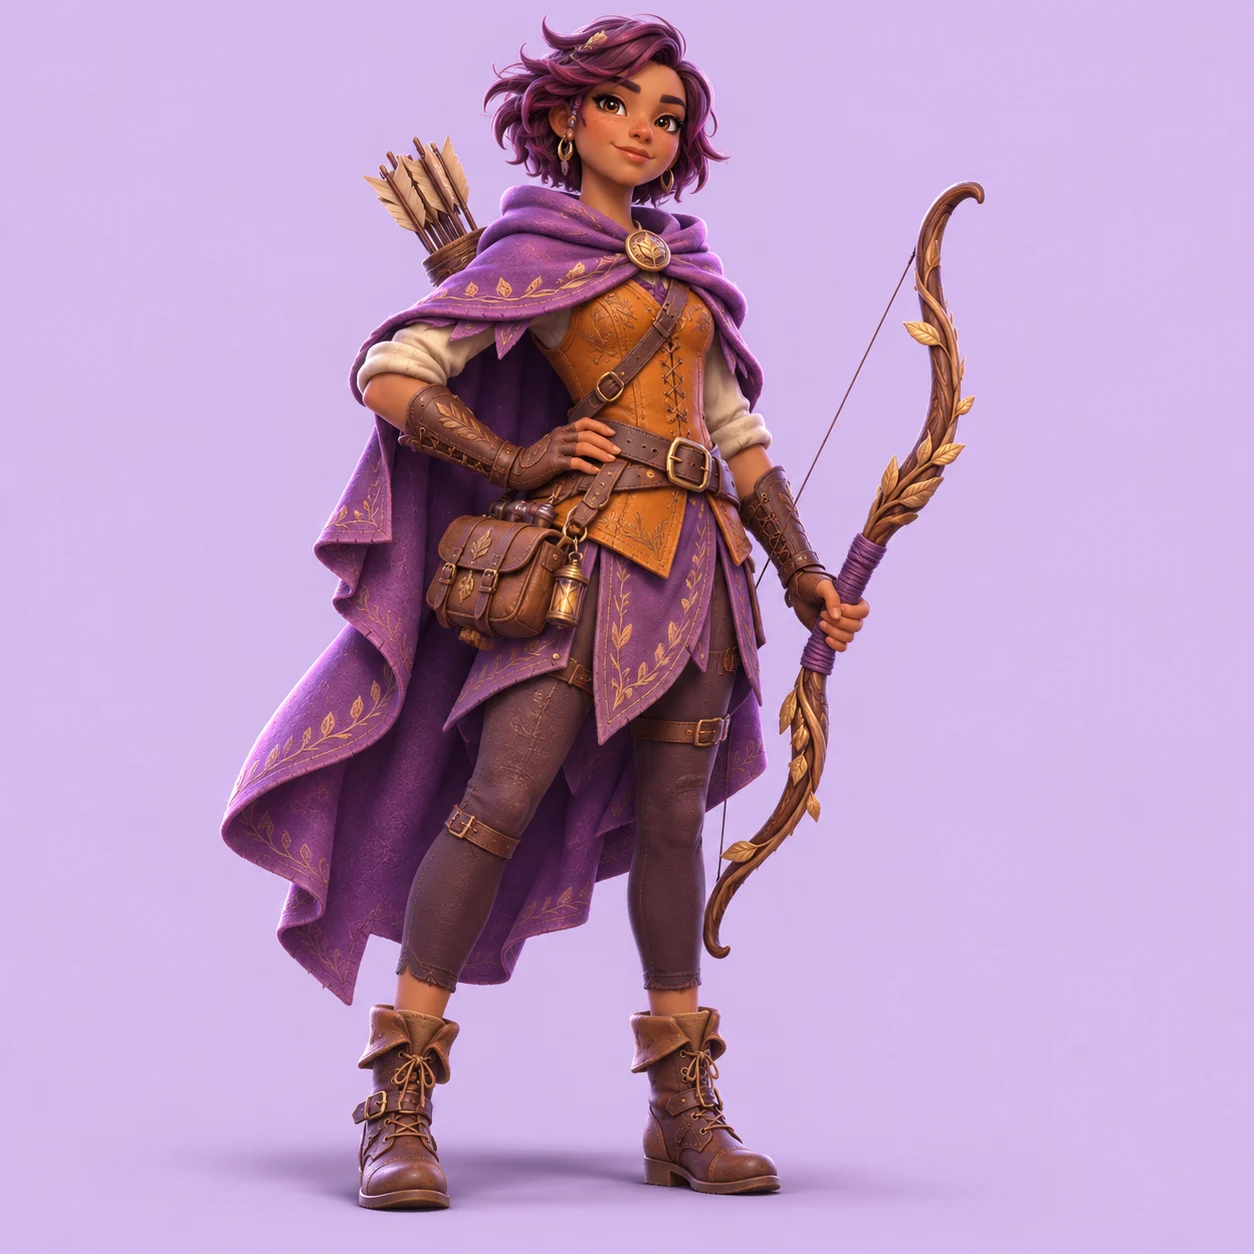
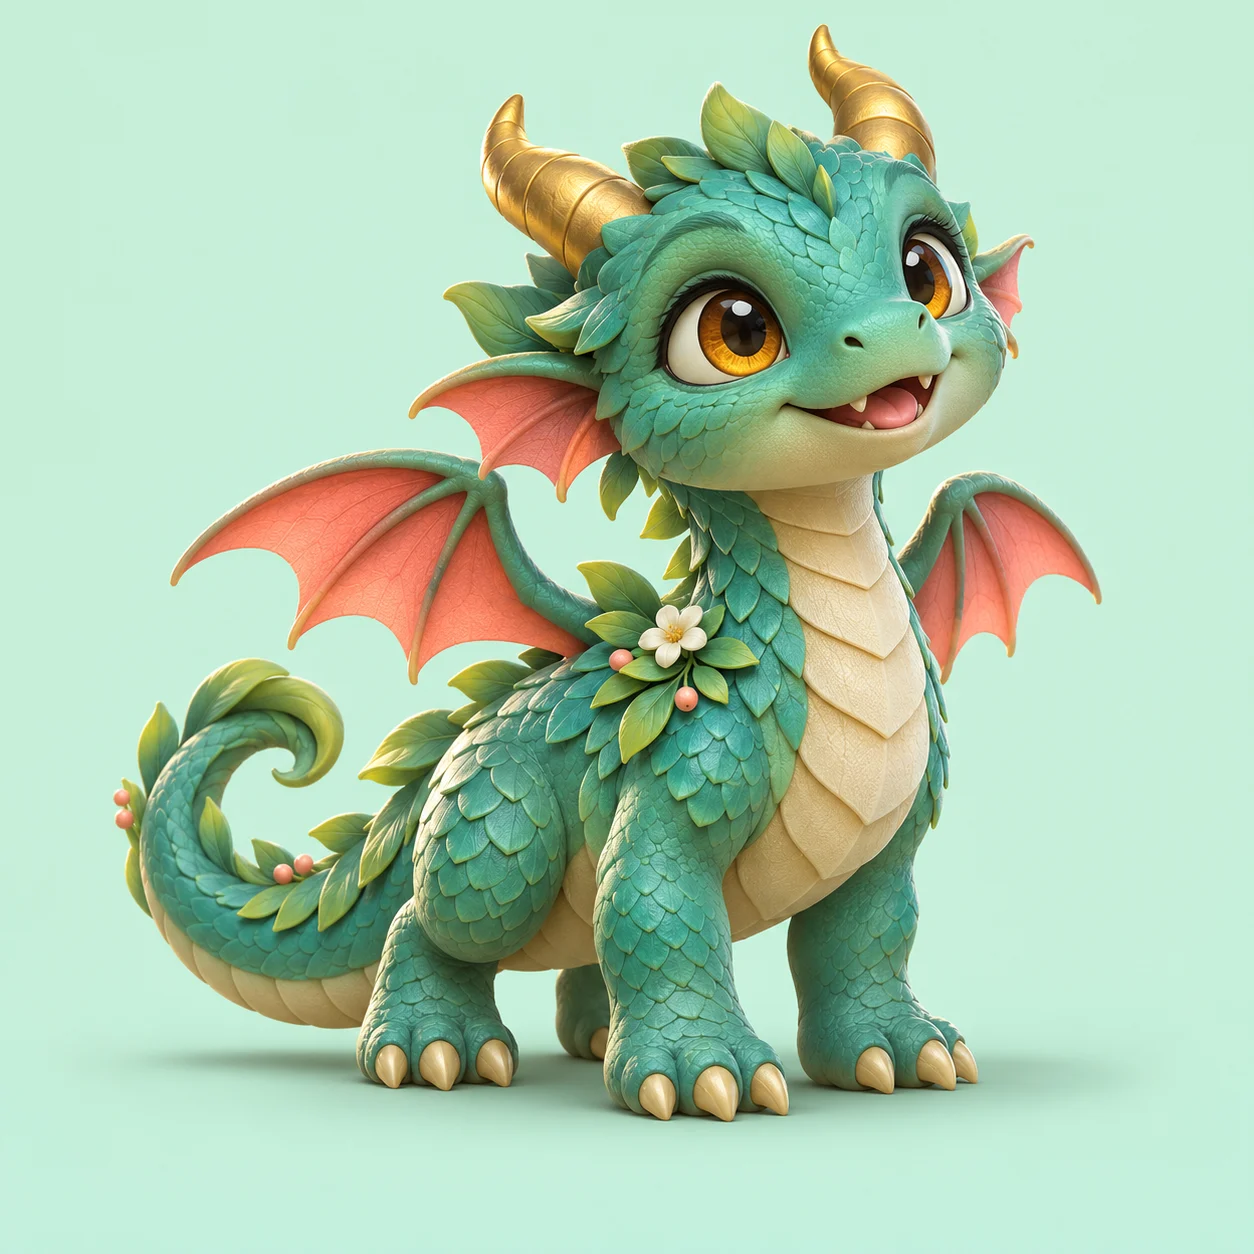
Follow the workflow in Character Studio
- Bring a reference. Upload a full-body image you can use, or describe a character. Text creates a 2K reference for 1 image credit or a 4K reference for 2 image credits; review the design before confirming it for 3D.
- Choose model quality. Standard 512 with 2K textures uses 1 3D credit; HD 1024 with 2K textures uses 2; Ultra 1536 with 4K textures uses 5. These are separate from image credits.
- Inspect the result. Rotate the model and look closely at hands, feet, equipment and the inferred back. Choose a view and one of the preview backgrounds.
- Download before leaving. The download package contains the GLB, a PNG of the chosen view and background, and English usage notes. A GLB does not enforce a viewer background. Task access expires 24 hours after creation; provider links can expire sooner. There is no artwork history.
Generation requires sign-in and paid access; payments are not enabled yet. The showcase can be inspected without generating a new task.
1. Start with a clear reference
Choose an image where the full character is visible and the silhouette is easy to understand. A clean background and a relaxed standing pose can make it easier for an AI reconstruction model to separate arms, legs, hair and clothing. Avoid heavy occlusion and confusing overlapping objects where possible.
2. Generate the mesh
The mesh is a collection of vertices and polygon faces describing the surface of the character in three dimensions. Image-to-3D tools infer the visible and hidden sides of the character from your input. Because a single image does not show the back of a character, the result is an estimated reconstruction rather than an exact scan.
3. Understand face count and topology
Face count is one factor influencing rendering and editing performance. A model with more faces is not automatically better suited for animation. Clean loops around joints, well-separated body parts and manageable polygon density are important for later rigging.
4. Add UVs and textures
UV coordinates map a flat image onto the mesh surface. Base-color maps set surface appearance; metallic and roughness maps affect reflected light. PBR materials may look different between viewers, so inspect the resulting GLB under several lighting setups.
5. Export and verify the GLB file
GLB bundles mesh information and may include textures and materials in one binary file. Open the file in a 3D viewer, rotate all the way around it, check the hands, feet and back, and confirm the textures display correctly before using it in another application.
Generate a textured 3D character from an image or description, inspect the model and download a GLB.
Open AI 3D Character GeneratorWhat AI-generated characters may still need
A static AI-generated asset may require topology cleanup, mesh separation, retopology, skeleton creation, skin-weight painting or animation retargeting before it can be used as a production game character. Evaluate these needs separately; a successfully downloaded GLB does not imply that the character is rigged or animation-ready.
Format reference: Khronos glTF and GLB overview. Format support does not guarantee that an individual generated model is suitable for animation or printing.